Today’s post is all about finding flexibility between hopping between all your favorite network devices, even when you’re out and about. Or, maybe you’re a small business and have ambitions to set up a site to site VPN so your employees can authenticate and access local resources. This post is a little more on the technical side of things but I will find ways to entertain, no matter your skill level or what field you work in. I hope this is insightful to you in some way!
Revisiting OpenVPN After Using Tailscale
It is not documented on this blog, but one evening I had began some configuration with FreeRADIUS to try and dive into understanding how a central authentication server can make life easier. FreeRADIUS is a central authentication server that allows our devices to access multiple applications with just one simple user-base. It was hard to see the use-case on its own, but with the addition of a VPN Server on PfSense, the two start to become very complementary of one another. I was using Tailscale, and still have much love for the project, but it was giving me an issue where I couldn’t ping my local IP address for my Windows host. I still like the convenience of Tailscale and I’ll still use it for sure, but I wanted to revisit the traditional OpenVPN configurations.
Where to start? Dynamic DNS
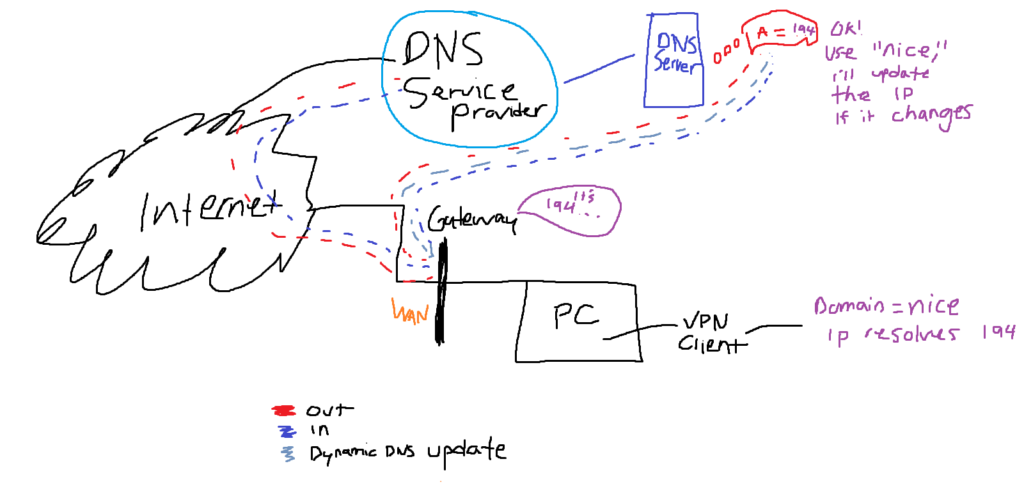
First and foremost, if you’re following along, when you set up a locally hosted VPN server, you’re going to probably want to have Dynamic DNS. This is helpful because sometimes our WAN (Wide Area Network) IP address changes and then our previous configurations on a VPN client, that we potentially have deployed to thousands of devices, will now be pointing to an invalid location. To fix this, Dynamic DNS services use scripts to probe the gateway of your network for the most recent WAN IP, and they will create an A record on their DNS server with their domain name. This will then allow you to be able to use that domain for the VPN, no matter what, because as your dynamic WAN IP changes, your dynamic DNS will easily update the IP address that it is pointing to match.
Dynamic DNS Host Recommendation
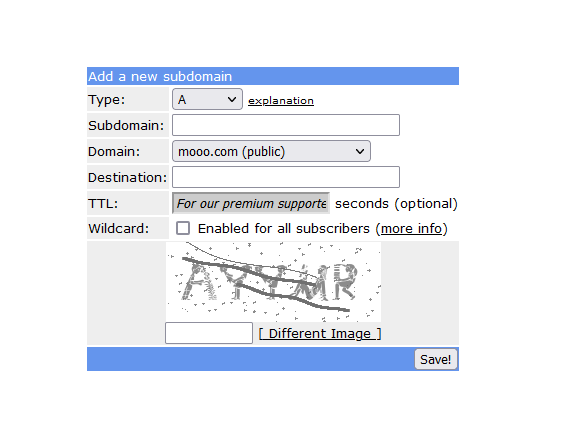
A Dynamic DNS host that I’d personally recommend, which is free and affordable if you want extra features, is FreeDNS, available at https://www.freedns.afraid.org. I stumbled upon the service after reading more about VPN configurations on Reddit, and they seem to have a very long history in good standing and seem like awesome people. It is super easy to get going with FreeDNS. You can just create an account, and add your WAN address, select a public domain, and within seconds, that subdomain is now pointing to your WAN IP. After that, you are able to configure Dynamic DNS on your router.
Securing A FreeRADIUS User
In my case, PfSense has a Dynamic DNS Service, where you can insert your authentication FreeDNS token by following some instructions. You will want to consult documentation pertaining to your specific device on Dynamic DNS, but soon enough, you should successfully have Dynamic DNS up and running on your router.
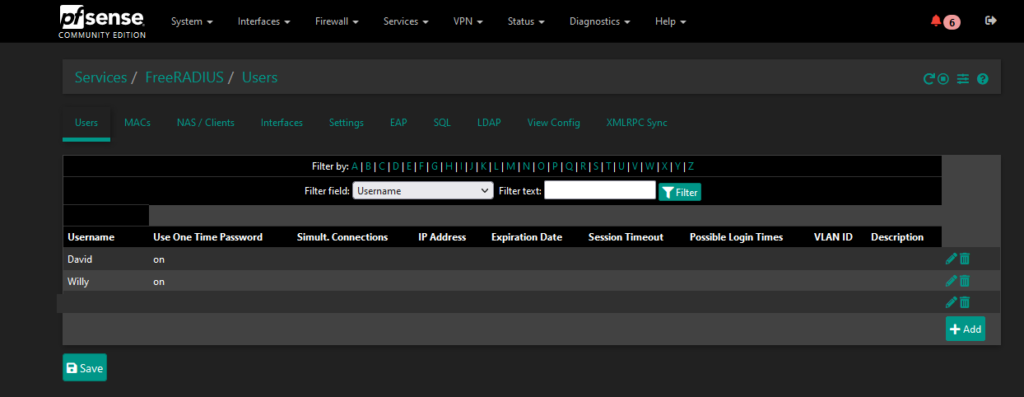
Moving on to the FreeRADIUS configuration, there is neatly written documentation available for PfSense, provided by Netgate, and the steps are very straight forward. I essentially followed these step by step to create a FreeRADIUS user, assign a OTP Google Authenticator token, and allow the NAS Server to authenticate with the FreeRADIUS Server.
Testing FreeRADIUS Authentication
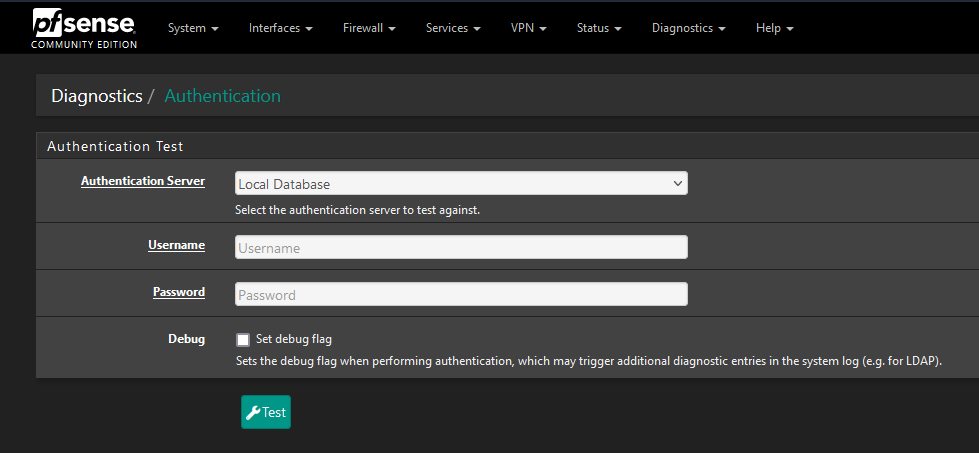
Once I was done with this, all that was left was using the PfSense ‘Authentication’ tool in the ‘Diagnostic’ section, to do a test on the credentials to see if everything was working properly. Once this was clear, I double checked my OpenVPN Server was set up correctly. I’ll link a video below on OpenVPN Server setup, provided by Lawrence Systems. He does an excellent job on this, and makes it very easy to follow along. The most important thing is distinguishing on the server to use the Radius database instead of the Local database.
OpenVPN Client Provisioning
We have a package on PfSense that allows for an easy time exporting an OpenVPN client. This is also covered in the Lawrence Systems video and will outline an easy experience getting the server all up and running. I used this to export my client configuration, and since I wasn’t using local authentication, I didn’t have to create clients for each individual user. I could create one client, and add all the users as necessary in FreeRADIUS instead. This makes life really easy for management.
For provisioning the VPN client to my devices, I dropped the VPN configuration onto a USB drive and just copied it to all my devices, and used a VPN client executable for windows systems.

Lessons Learned
This was a lot of fun. I really enjoy how much versatility I have and I learned a lot about the benefits that come with an central authentication solution like FreeRADIUS. If this helped you, please be sure to let me know. I will be updating this post with more detail and assistance, but I wanted to get much of it out as soon as possible for today’s post. Stick around for more updates! Thank you for reading. Today’s lesson is that there are easier ways to do things, and we don’t always have to be stuck with the old. If something stops working for you, don’t be afraid to migrate to something that does. And by all means, the hardest part is starting, but once you do, you might enjoy the change!
Resources
https://docs.netgate.com/pfsense/en/latest/recipes/openvpn-ra-auth-freeradius.html
https://docs.netgate.com/pfsense/en/latest/recipes/freeradius-otp.html
https://forum.netgate.com/topic/153392/openvpn-without-static-ip-on-wan
FreeDNS: https://freedns.afraid.org

