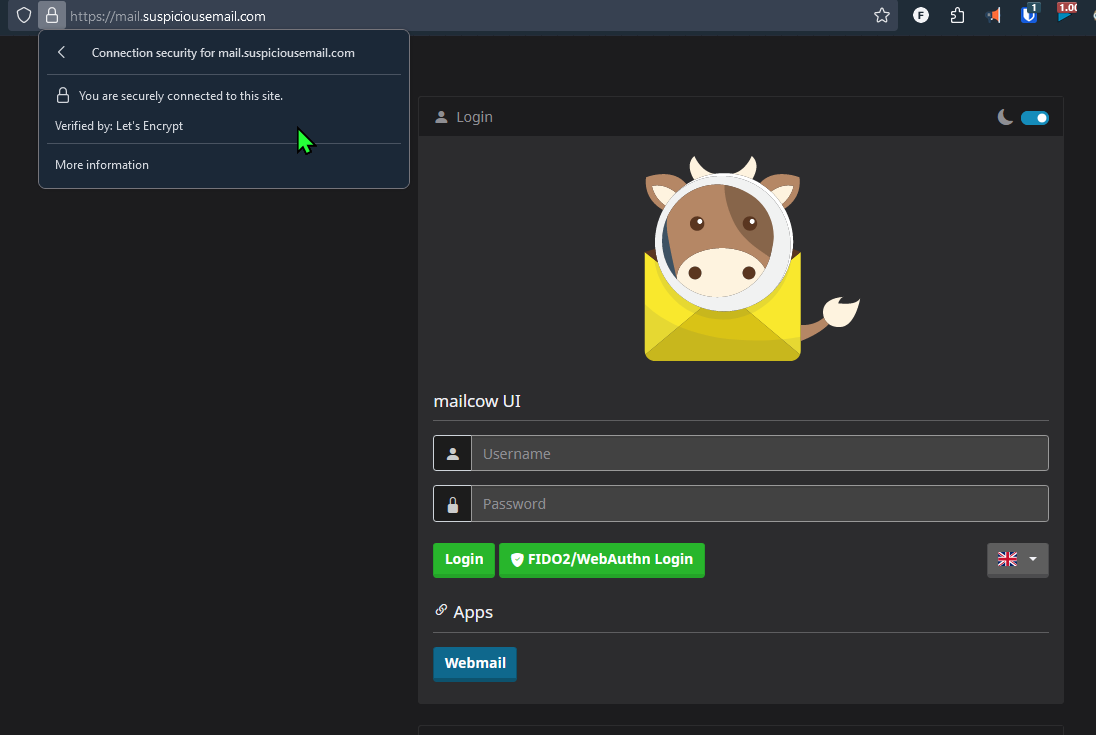
A blog post all about how I used a cloud server provider, (Linode) to deploy a self-hosted instance of Mailcow in a docker container, all for a mission to alert scam victims of a fake Norton Security refund scam.
Thank you, scammer!
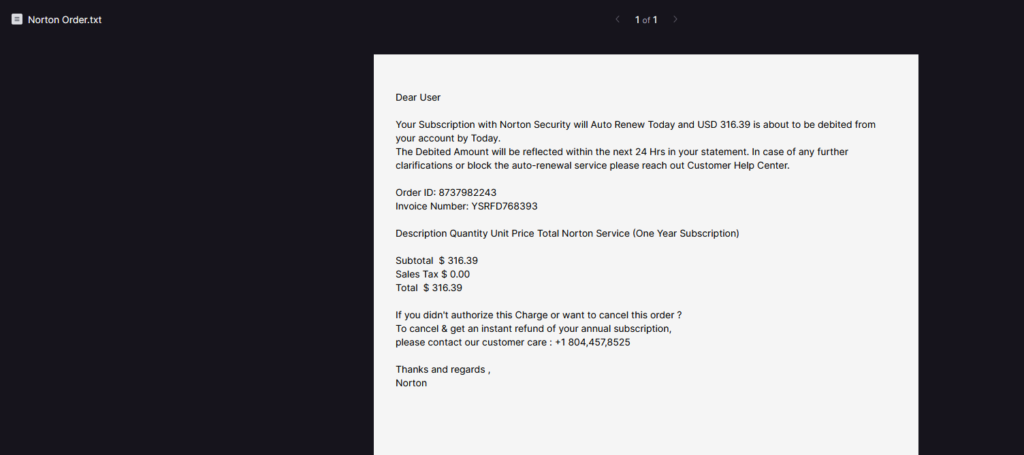
Hello everyone! I am back with another post, this time highlighting a fun little project that I did spontaneously, thanks to a scammer who wanted to send a fake notification to my email about a Norton Security subscription in the amount of ~$300.
This is one of many scams I was already familiar with, and while I would normally just move on about my day and ignore the email, I couldn’t help but notice that the scammer accidentally copied all the victims publicly on the email thread, (traditionally if you wanted to hide who you were copying, you would do a “blind carbon copy (bcc)”, but they just did a normal copy).
I have a lot of time on my hands
Having this information of all the victims, I thought it would be a fun little project to go and alert all of them with my own email. This was very fluid and spontaneous and I also thought it would be a way to make a friendly reminder and hopefully help those in need, perhaps not aware of the scam.
At first this wasn’t going to be a self-hosted mail server project- I bought a $9/m subscription to a mailing service that could handle 400 emails so that I could alert them, I figure for $9 it would be worth it, and I would use my ReportName.com email as the subdomain to guide the recipients to my platform that provides an organized approach to reporting cybercrime and general information that would help them learn how to stay protected.
My mistake leads to anti-procrastination
It was my fault to realize with the mail service that I purchased though, that they limited outbound emails to 200/day. This would become a road block as the situation called for some sense of urgency not knowing when these victims would read their email. I realize that many scam emails are sent on a daily basis, probably in the millions, but I wanted to still do what I could and try and help them as quickly as possible. Unfortunately I did not realize this limitation until I already had bought the subscription, so I decided to pivot to a more affordable option for the remaining 200 recipients.
At this point, I could have waited a day, no worries, but I took the opportunity as an excuse to finally deploy my own email server and learn more about it.
I did some quick research with YouTube and Google search to really understand what limitations and complications would be entailed with deploying an email server, and I certainly wouldn’t have minded hosting it locally, but I wasn’t really going to be too excited about exposing my IP address and tying it to a domain name, as Cloudflare reverse proxy would have hid my local ISP IP address, but that wasn’t going to be an option with mailing records as MX records have some trouble being proxied in that way.
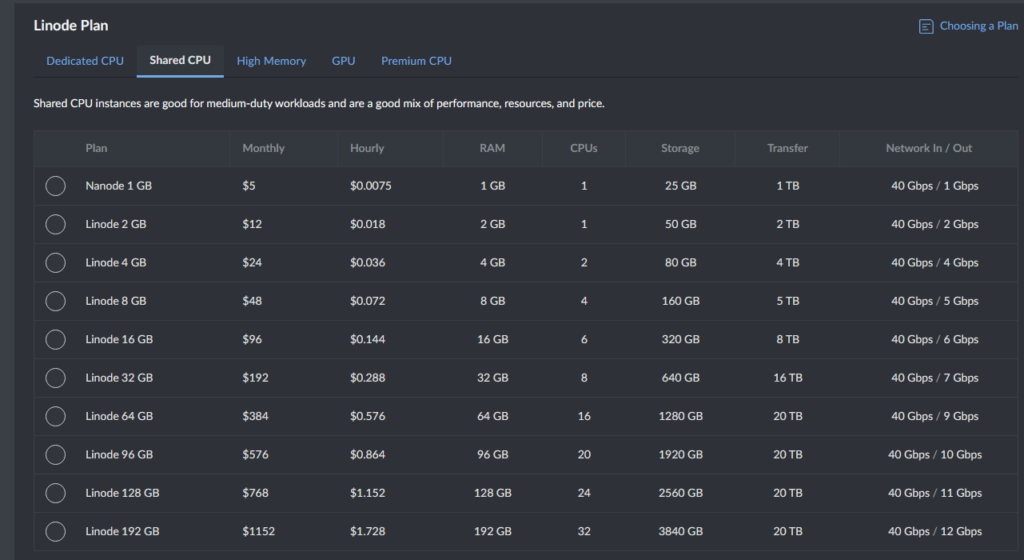
And it’s cheap!
So, I deployed the Linode instance, a cheap server that only cost me about $0.37 in total for the few days that I kept it running.
I was able to send the remaining 200 emails through this server, and I was excited to set this up and have something that could be a nice proof of concept for me to learn more about how to configure an email server.
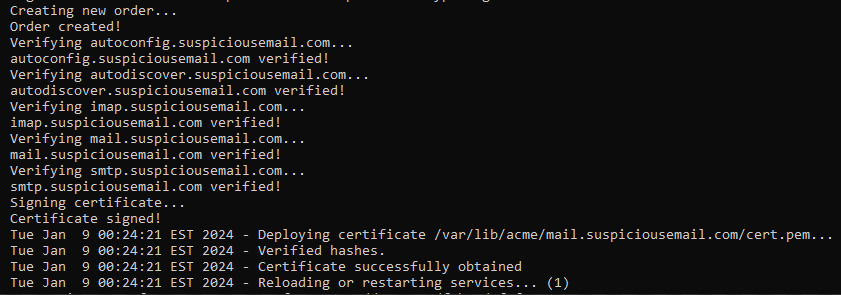
I was thrilled to have it finally running, however the most challenging part was getting my SSL certificate to work properly because it was giving me some issues with the acme-challenge. After I finally tweaked around, I was very fulfilled.
The End Result:
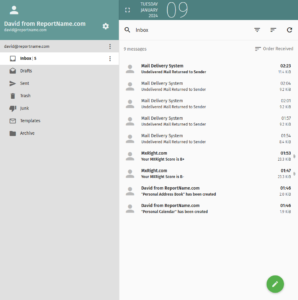
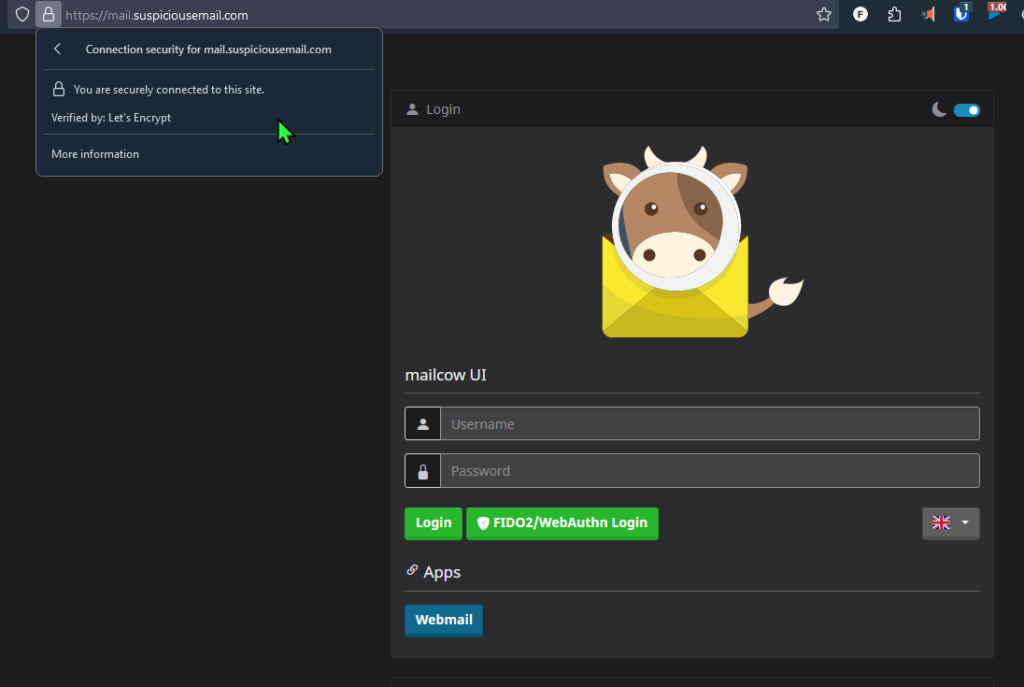
Here’s a little bit how the webmail interface looked:

Brief overview:
As far as the technical part of how I actually deployed this server, I’ll briefly explain a little bit about the process:
- I deployed a Debian 11 server on Linode and ran repository update and upgrade commands.
- I then installed Docker and Docker compose.
- I pulled down a docker instance from the GitHub repository for mailcow-dockerized. They have a support team and they’re incredibly dedicated to this project.
- After I pulled the required files, I began to configure mailcow’s configuration file.
- From the configuration file being the settings I wanted, I ran the command to deploy the required containers with docker compose.

- I did some configuration with the WebUI and changed the default credentials of mailcow.
- I linked a domain name to Mailcow, and I looked for the required DNS records and made sure that I had them properly configured with my Cloudflare DNS.
- After the DNS records had time to propagate, I created a test inbox to make sure I could pass all the email security checks like DKIM, DMARC, and SPF, and I tested the email server with some online tools (mxtoolbox.com and mail-tester.com). These tools would indicate reasonable metrics for the configuration and ways the server could be improved, to lessen the likelihood of outbound mail being marked as spam.
- From there, it was really just a long process to sorting out my SSL certificate, which was giving me some issues, but I think that was in part to do with some of my servers proxying with CloudFlare, and the time it took to propagate updates. I actually deleted some certificates and when I manually regenerated my own, it was working pretty well funnily enough, so I figure that could have had something to do with it as well. I wish I knew a little bit more about why it wasn’t working, but it definitely has me prompted to learn more about the process of LetsEncrypt. I definitely learned a little more, but I’ve been trying to tackle this even in my home environment for a while now, trying to sort out a SSL certificates, I’ve been getting better with helpful resources. I’ll leave some links below.
Lessons Learned
So, the beauty of this project and the takeaway is that, while it was another one purely done mainly out of spontaneity, it shows that sometimes the mistakes we make along the way help us to do greater things in the end. If I had found the right mailing service, maybe I wouldn’t have felt motivated enough to configure my own email server.
Of course, securing a mail server has its own labyrinth to navigate, and it’s probably easier to just buy a service, but nevertheless, I recommend anyone reading this to deploy their own instance of mailcow or similar service, in a Docker container, because by doing this kind of thing, you will learn a lot about mailing protocols, how to configure it with DNS, and a little bit about ensuring your server has a valid SSL certificate.
It’s a lot of fun and I thought this was a very enjoyable experience that has me excited to deploy more servers like this.
Helpful Resources:
MX record configuration and troubleshooting:
Cloud:
Support me:
- TaskRunway.com – Take flight into your favorite tools. Free and Open Source.
- ReportName.com – An organized approach to reporting cybercrime.

