

This is a continuation of a more rudimentary proof of concept where I wanted to help real world people solve real world problems with a ticketing solution of some kind. I would additionally be able to get hands-on with a ticketing system so I could directly use my experience for a full-time position and already know a little bit about what I’m getting into. You can review the old post here:
To get started with our adaptations to this lab, we want to select a ticketing system to go with. I went with Zammad.
Creating an LXC container
I created an Ubuntu LXC container in my Proxmox environment and issued a static internal IP address, 172.22.22.32/24
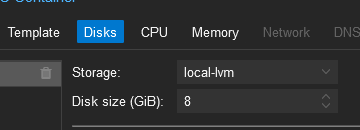
I ran into an issue where my root disk was being selected to a backup, since I was doing a backup for my system pretty recently. To resolve this, I created a new system and ensured the root disk was set properly.
As shown below, I made sure my storage was local-lvm this time around, and not my backup storage disk.
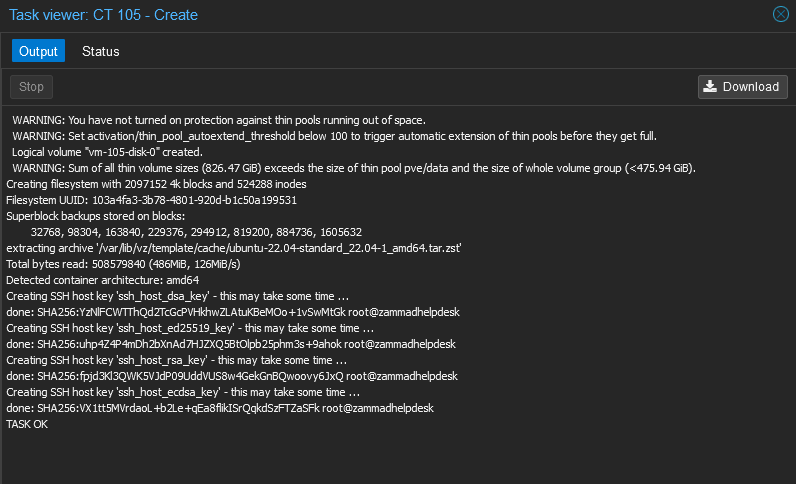
After changing this, I noticed there was yet still another error. For some reason, my storage was full 0 bytes were available.
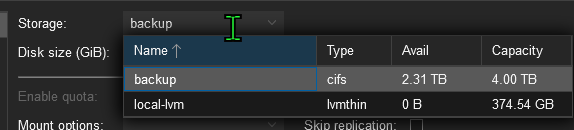
I was able to delete one of my older unused volumes and that freed enough available space to continue with the project.
Updating the Repositories
I ran an install command for curl so I would be able to push notifications with my NTFY server.sudo apt-get install curl
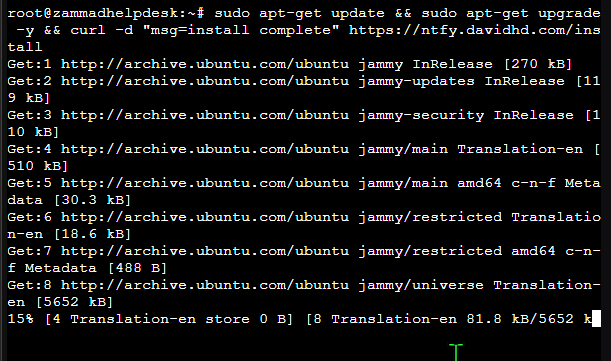
I did a repository update with sudo apt-get update && sudo apt-get upgrade -y && curl -d "msg=Your message here" https://ntfy.davidhd.com/send to update/upgrade the repositories, and additionally get notified with a push notification from my NTFY notification server when the update is complete.
Once complete, I installed docker with:
sudo apt-get install \
    ca-certificates \
    curl \
    gnupg \
    lsb-release -y && \
curl -fsSL https://download.docker.com/linux/ubuntu/gpg | sudo gpg --dearmor -o /usr/share/keyrings/docker-archive-keyring.gpg && \
echo \
  "deb [arch=$(dpkg --print-architecture) signed-by=/usr/share/keyrings/docker-archive-keyring.gpg] https://download.docker.com/linux/ubuntu \
  $(lsb_release -cs) stable" | sudo tee /etc/apt/sources.list.d/docker.list > /dev/null && \
sudo apt-get update && \
sudo apt-get install docker-ce docker-ce-cli containerd.io -y && \
curl -d "msg=Docker installed successfully" https://ntfy.davidhd.com/install
and then,sudo apt-get install docker-compose -y
for the Docker-Compose install.
Installing and Deploying Zammad with Docker-Compose
I chose Zammad – I used the Docker Compose installation instructions provided below:
https://docs.zammad.org/en/latest/install/docker-compose.html
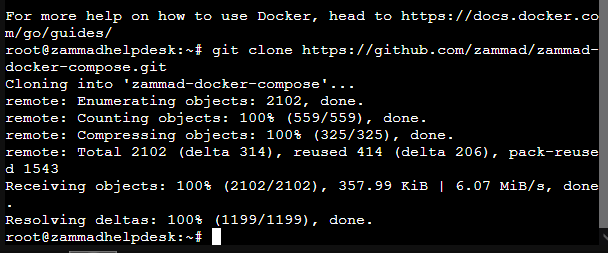
I cloned the GitHub repository, then I changed my directory according to the new folder.
git clone https://github.com/zammad/zammad-docker-compose.git
cd zammad-docker-compose
I ran sudo nano docker-compose.yml and reviewed the configuration to make sure everything was good. The service is running on port 8080 and since I deployed a new container, there are no port conflicts, so this is fine for me. The default timezone was set to Europe/Berlin though, so I changed it to America/New_York.
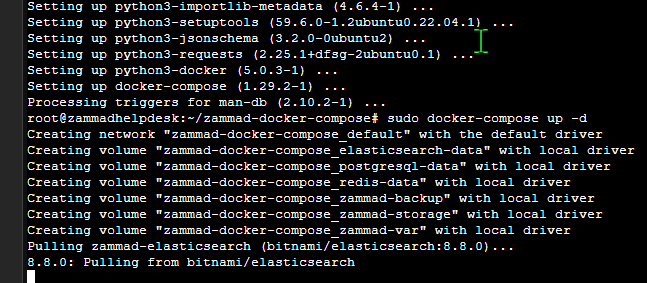
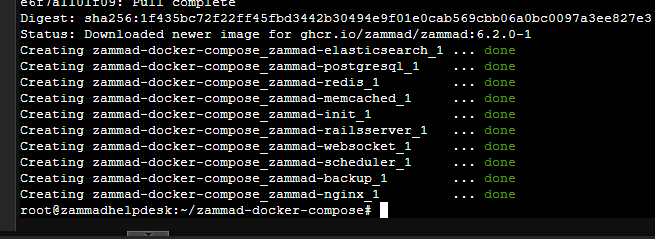
Once I was ready to run the container, I used
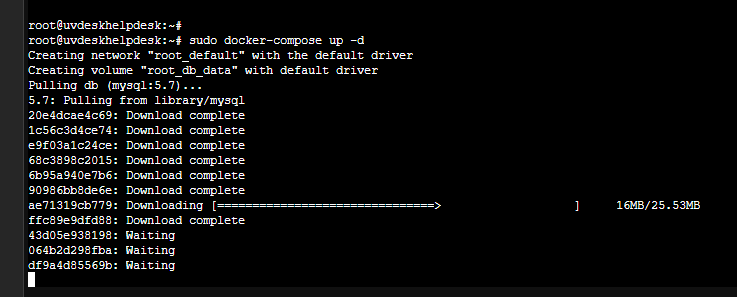
sudo docker-compose up -d to pull the required dependencies to run the container, and also run the container detached in the background (-d).
Now, the coffee break while everything downloads. I like my coffee dark 🙂
Perfect, now we’re ready to access the service at 172.22.22.32:8080.
I tried to access the software, but I wasn’t getting a valid web-page. Looks like I must have messed up somewhere.
I wanted to double check everything. I ran an nmap scan and only saw port 22 available. My container was also starting to hang, so I decided to give it a reboot just incase there was anything related there.
Something wasn’t right. I think the docker container had something being deployed that was making it lag because everytime I would reboot, I would encounter this sluggish experience. I decided to try deploying it on an existing LXC of mine, as a bare install without docker-compose.
Trying a different method
This time, I followed along with:
https://docs.zammad.org/en/latest/install/package.html
I installed some prerequisite package dependencies:apt install curl apt-transport-https gnupg
then I confirmed that locales was returning the correct UTF code with locale |grep "LANG=" returning the following output:

Zammad needs the correct locales to work properly. If you are following along, you can use the following to ensure that it is correct:
“apt install locales
locale-gen en_US.UTF-8
“echo “LANG=en_US.UTF-8” > /etc/default/locale
Now it was time to install the repository key:
curl -fsSL https://dl.packager.io/srv/zammad/zammad/key | \
  gpg --dearmor | tee /etc/apt/trusted.gpg.d/pkgr-zammad.gpg> /dev/null
I checked my linux version with cat /etc/os-release to verify I was on Ubuntu 22.04 and opted for the command below:
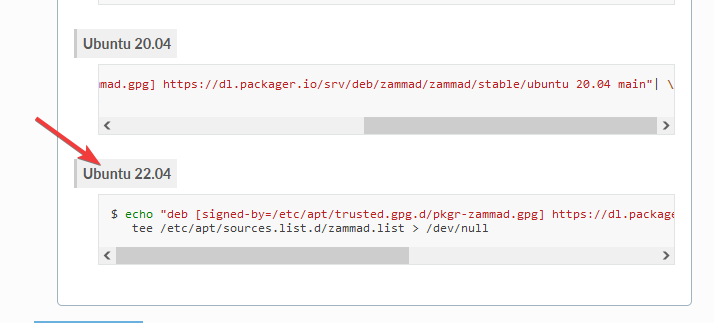
echo "deb [signed-by=/etc/apt/trusted.gpg.d/pkgr-zammad.gpg] https://dl.packager.io/srv/deb/zammad/zammad/stable/ubuntu 22.04 main"| \
   tee /etc/apt/sources.list.d/zammad.list > /dev/null
I ran a sudo apt update and then sudo apt install zammad
Ah yes, more dependencies.. I realized my issue.
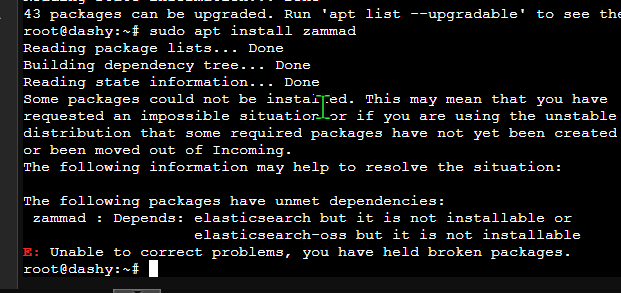
I overlooked this part of the install:
https://docs.zammad.org/en/latest/install/elasticsearch.html
apt install apt-transport-https sudo wget curl gnupg
echo "deb [signed-by=/etc/apt/trusted.gpg.d/elasticsearch.gpg] https://artifacts.elastic.co/packages/7.x/apt stable main"| \
tee -a /etc/apt/sources.list.d/elastic-7.x.list > /dev/null
curl -fsSL https://artifacts.elastic.co/GPG-KEY-elasticsearch | \
gpg --dearmor | tee /etc/apt/trusted.gpg.d/elasticsearch.gpg> /dev/null
apt update
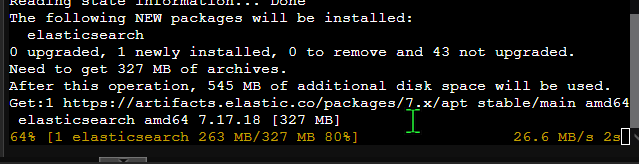
apt install elasticsearch
sudo /usr/share/elasticsearch/bin/elasticsearch-plugin install ingest-attachmentNow we are resolving the dependency requirement by installing Elastisearch.
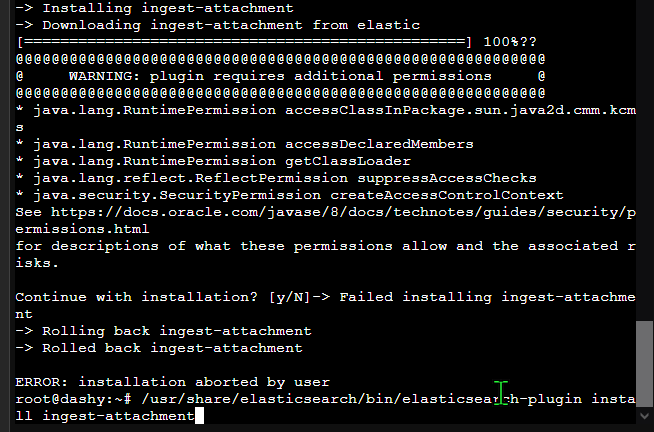
The last command required root permissions /usr/share/elasticsearch/bin/elasticsearch-plugin install ingest-attachment) so I needed to rerun the command with sudo.

Perfect.
Now back to sudo apt install zammad, all is working great.
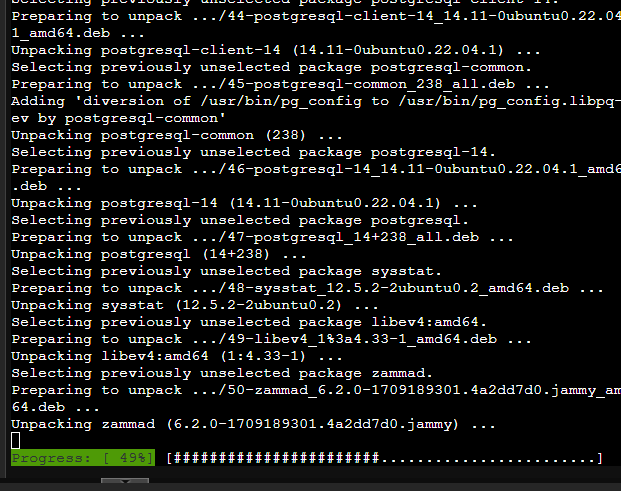
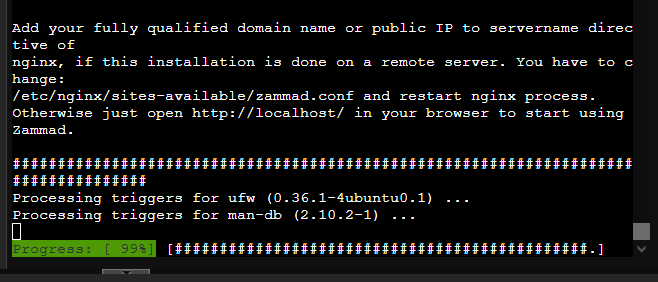
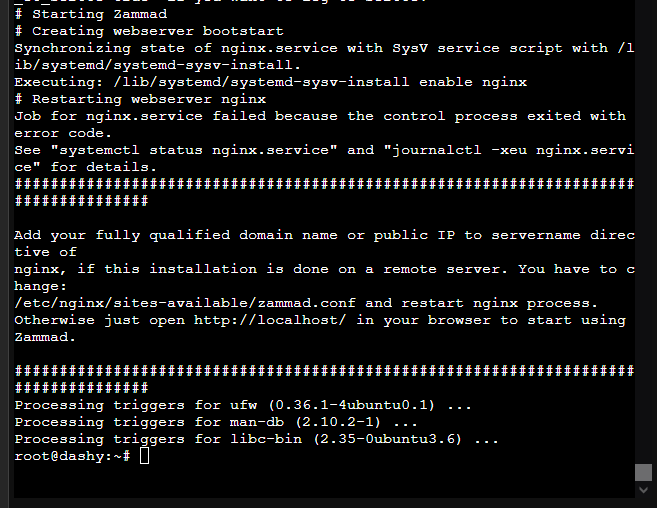
Woohoo! I think the Docker container was choking up on resources with Elastisearch, and since I’m running it within a Docker container, it might not fair well with nested virtualization. The Zammad server seems to have started.
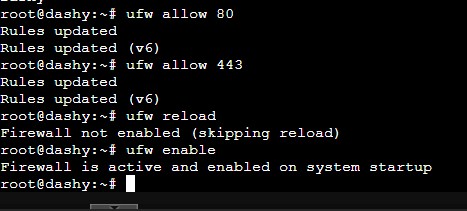
I’m going to use ufw allow 80 and ufw allow 443 to open the ports for web traffic, followed by a ufw reload and ufw enable to ensure the rules are active.
systemctl status zammad
Everything seems to be healthy.
“
Next, we need to attach Elasticsearch to Zammad:
https://docs.zammad.org/en/latest/install/elasticsearch.html#configure-zammad-with-elasticsearch
sudo zammad run rails r "Setting.set('es_url', 'http://localhost:9200')"
This command is taking a while… I will try for a third time on a VM instead of an LXC container to see if it’s a resource issue.
Trying a third time:
I’ll try the Docker version again on this third install to narrow everything down. I may be running into resource issues.
Now let’s try to access the server. Our IP address for this other container is 172.22.22.95
Switching to a different solution: UVDesk
I really want to try Zammad later in the future because I’ve heard great things about it, but it seems that it might be too heavy for my Proxmox container. I want a solution that isn’t too heavy, so I am trying UVDesk, as suggested from Network Chuck. https://www.youtube.com/watch?v=Kq0BMVhbFkA
I quickly spun up a Proxmox container with our original 172.22.22.32/24 IP address from the beginning where I started. I redid all the steps for initial installation and repository upgrades.
To install, I just created a docker-compose.yml file with the following contents:
version: '3'
services:
  db:
    image: mysql:5.7
    volumes:
      - /volume7/docker/uvdeskdb:/var/lib/mysql
    restart: always
    environment:
      MYSQL_DATABASE: uvdesk
      MYSQL_ROOT_PASSWORD: CHANGETHISPASSWORD
      MYSQL_USER: uvdesk
      MYSQL_PASSWORD: CHANGETHISPASSWORD
  uvdesk:
    image: nuttcorp/uvdesk:latest
    depends_on:
      - db
    tty: true
    environment:
        MYSQL_USER: uvdesk
        MYSQL_PASSWORD: CHANGETHISPASSWORD
        MYSQL_ROOT_PASSWORD: CHANGETHISPASSWORD
        MYSQL_DATABASE: uvdesk
    ports:
        - 6744:80

volumes:
  db_data: {}
sudo nano docker-compose.yml
paste in your preferred docker-compose.yml config. Change the credentials.
Write it out with Ctrl + O, Ctrl + X.
More coffee.

Bingo.
sudo docker ps to ensure our container is running.

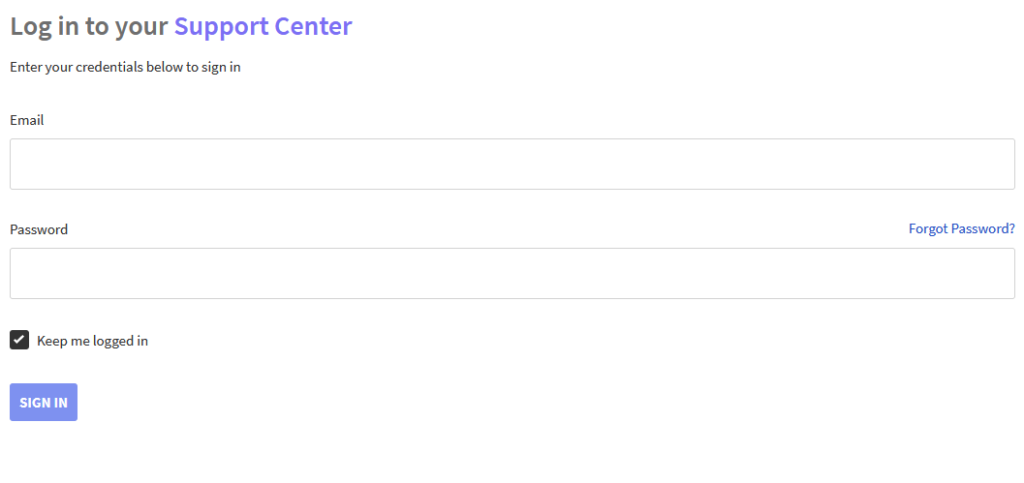
Let’s try to access it on port 6744, 172.22.22.32:6744
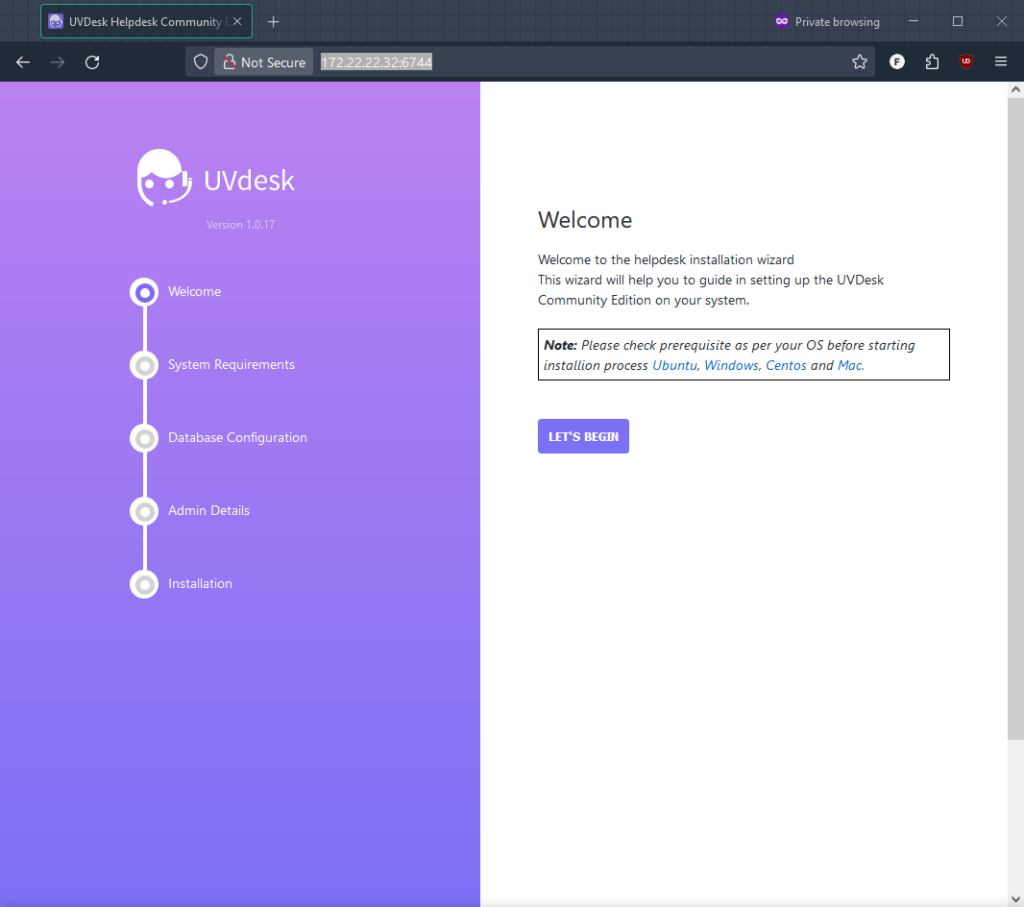
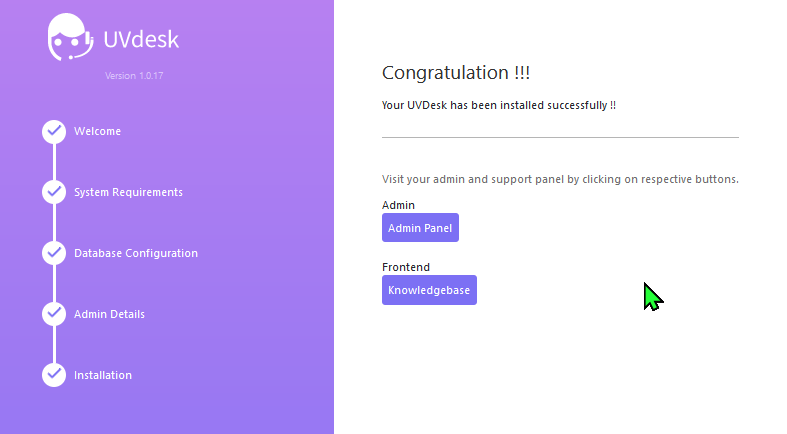
There we go!
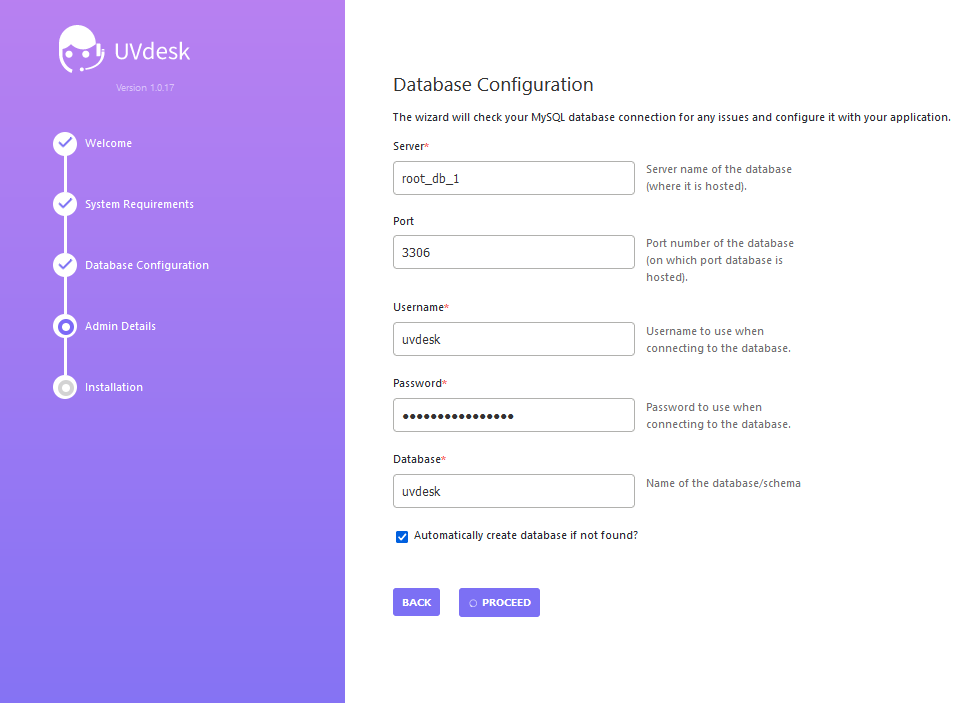
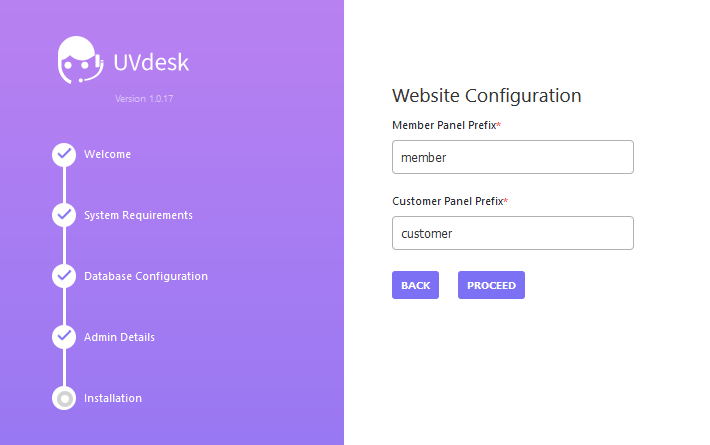
I changed the password, but kept the default username. These are what my settings look like. If you get an error, double check your docker-compose.yml file:
Time to create an admin account:
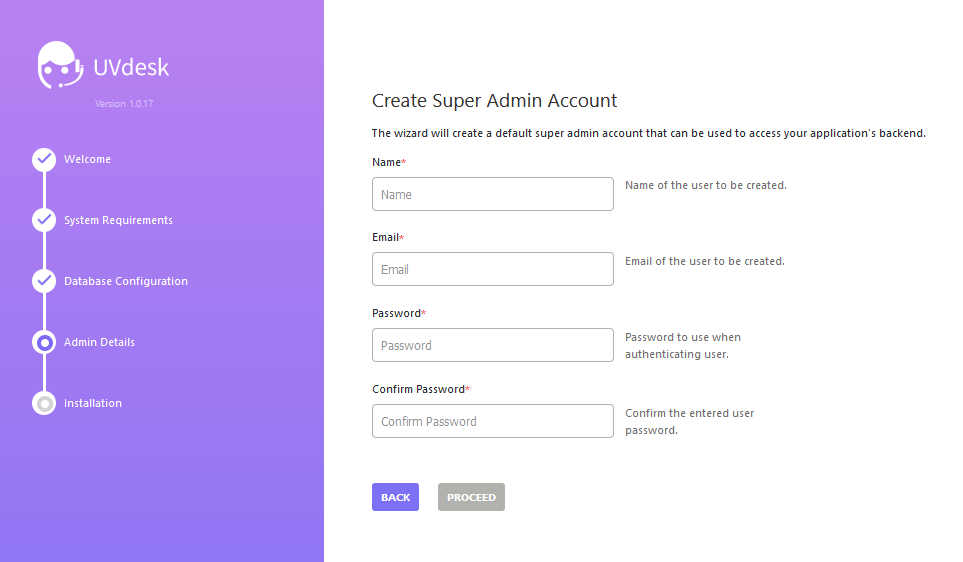
I left this as default:
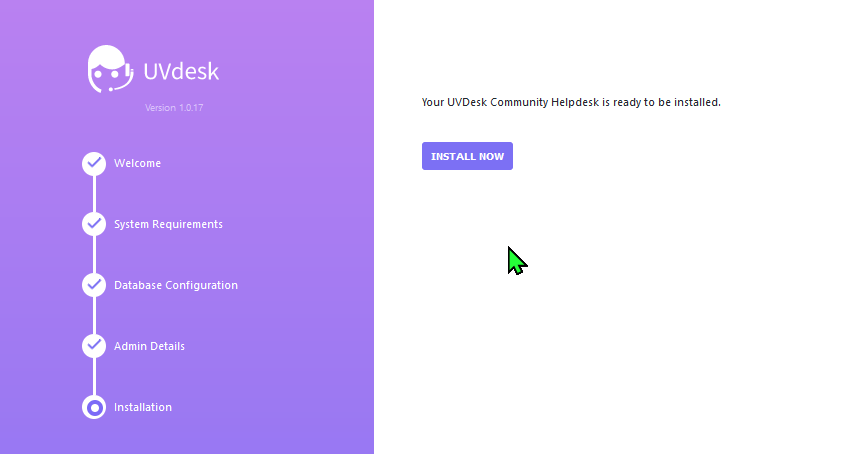
Click the install button, enjoy a nice rewarding break.
Of course I forgot the email I used, so I went on a detour to go into my database and find out what email I used:
docker exec -it root_db_1 bash
mysql -u root -p
Enter the credentials for the database.
USE uvdesk to select the database
SELECT * FROM uv_user; to extract the users in the table.
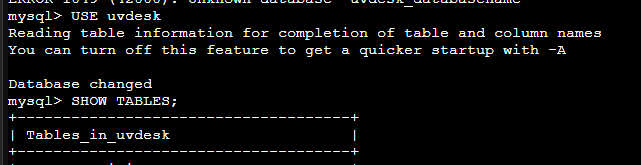
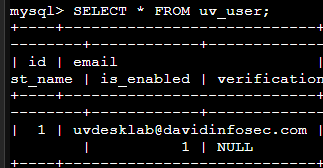
There we go!
Creating a Python Script to populate the tickets with Reddit threads (from r/techsupport)
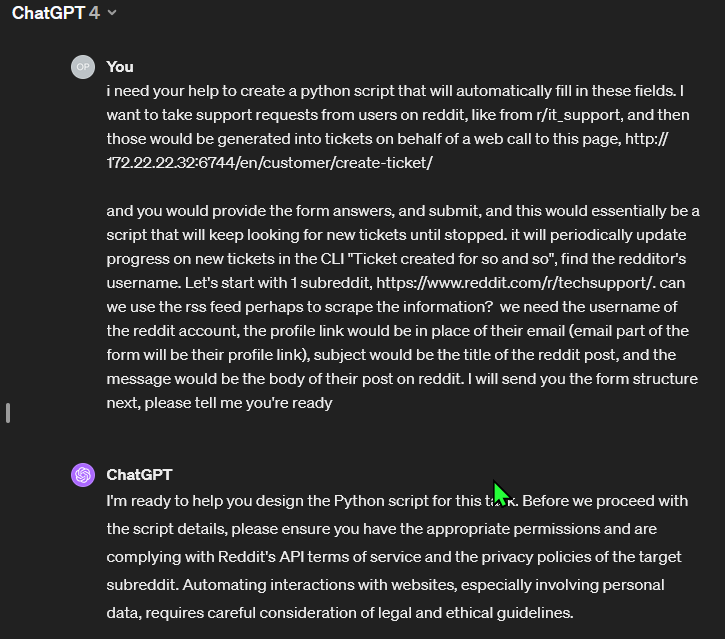
Now, the next step is to try to get some tickets in here. We can create them manually using the information from Reddit threads like r/it_support, etc., – but I’d love to find a way to have them automatically populate.
I attempted to brainstorm how I could create a Python script to accomplish this task. I had a bit of experience developing a web scraper, but I’ve also had some experience with RSS feeds and Reddit especially. I applied for API access which would relatively make this straight forward, but I got to thinking outside the box. I thought I’d give the RSS feed a try.
https://github.com/davidinfosec/Reddit-Post-to-UVDesk-Ticket/tree/main
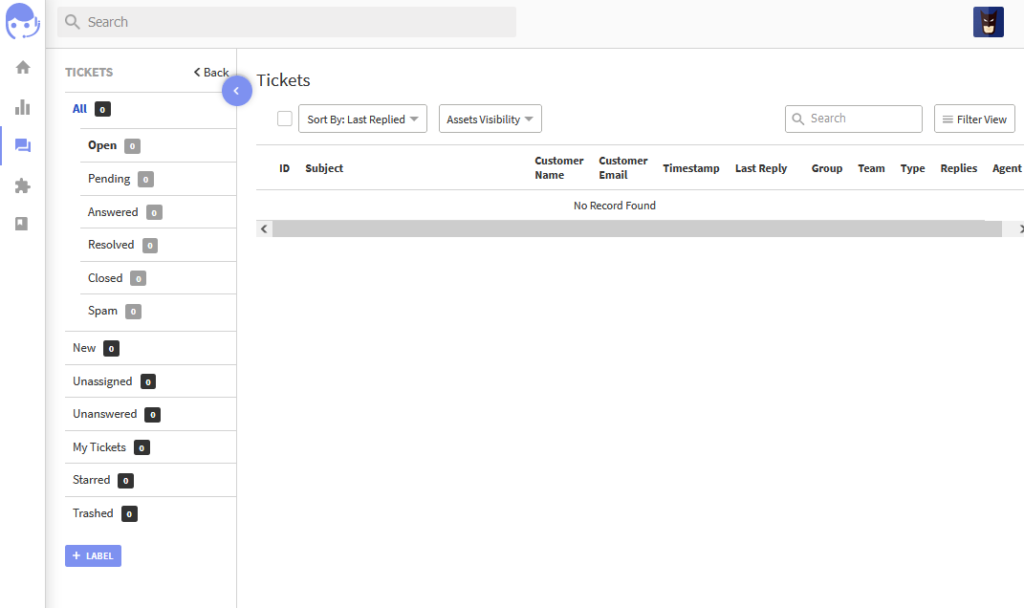
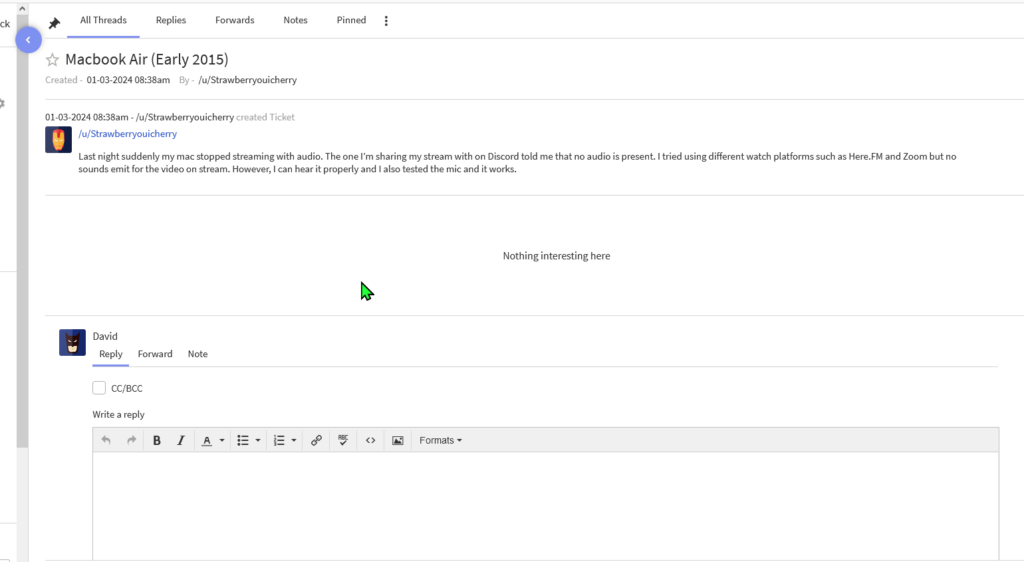
I analyzed the support form for UVDesk and realized that I could scrape all the parameters and get my Python script to submit a response to that form with the /r/techsupport subreddit data. I looked away because I didn’t think it would work, but, this was an insane breakthrough. Check it out:
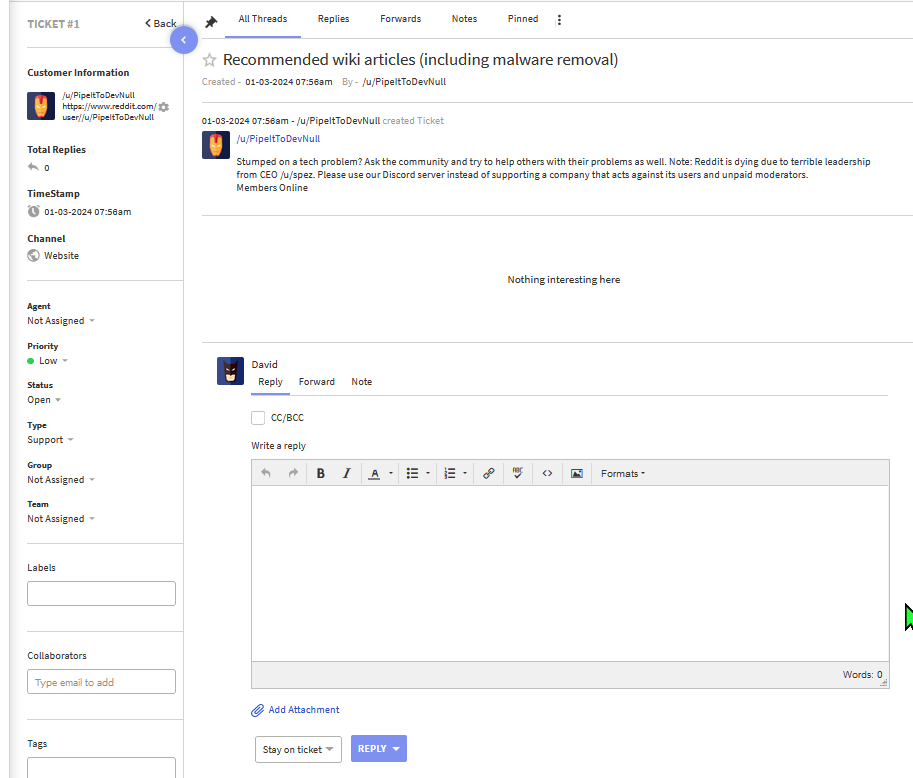
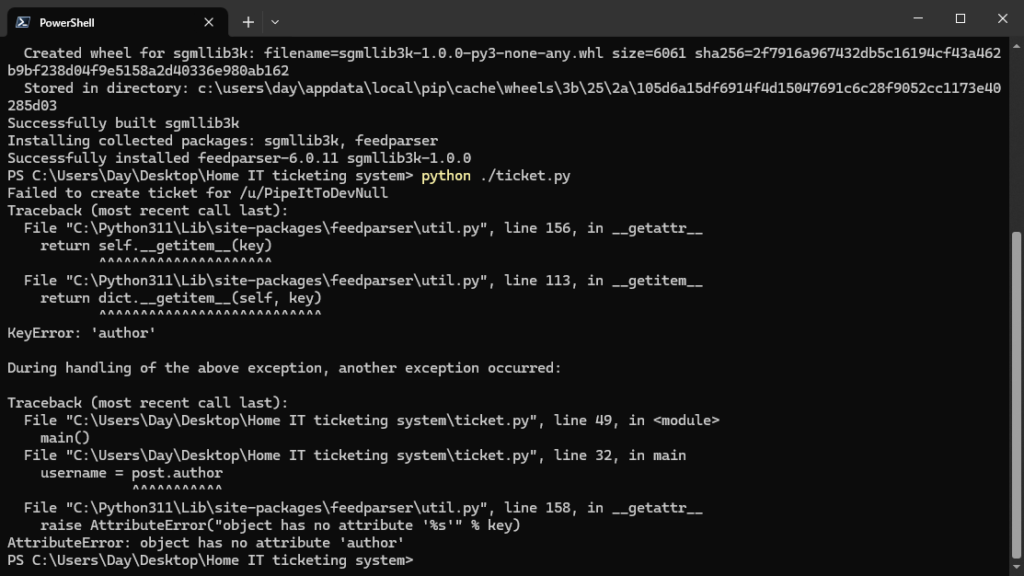
So, in theory, it works!?!? This is so wild to me. I thought it would be way more complicated. The only problem is, I’m only getting one submission, and I’m getting an error related to the RSS feed.
I will be looking into this further, but the fact that one submission came in, means that the form was successfully submitted. I am so pleased. Stay posted as I begin to document this further.
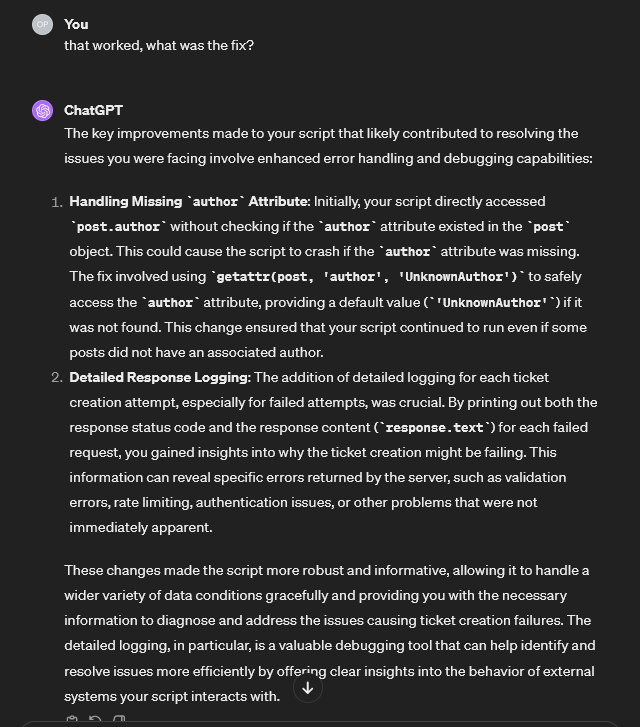
BOOMM! I modified the Python script after changing the way it handled the author attribute. The RSS feed isn’t perfect because you can only run the script once. The second time will populate duplicate tickets. BUT.. it’s a push in the right direction, and a temporary fix until I get access the official Reddit API which should arguably work better. Upon recommendation from someone in a study group I’m in, I decided to purchase this book to help me in my future implementations with API’s as I get to know these processes better:

You can buy it below with my affiliate link if you’d like to support me:
https://www.manning.com/books/microservice-apis (non-affiliate)
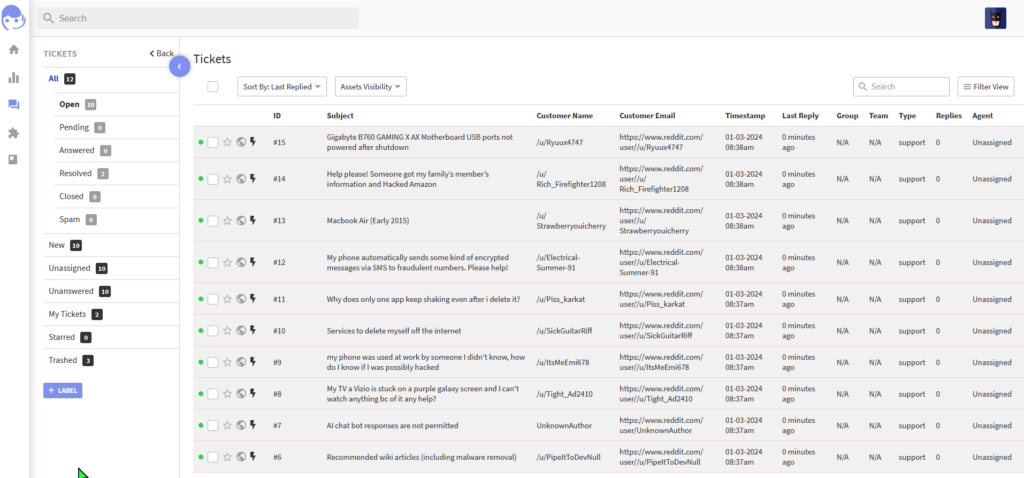
Now I can easily start to simulate these tickets in the real world. I will modify the script so it can handle the original post link, as currently it only provides the user. It’s not perfect, but WOW. I am so happy with this. Thanks for sticking along for the journey.
Lessons Learned
As you saw in this post, there were a few roadblocks to get here. We had failures with our scripts, errors with how much storage we had in our LXC container install, and even resource exhaustion with Elasticsearch. It was all about pivoting and trying to adapt to our situation, while keeping our eyes on the prize. It took resilience and problem solving to get to end, but I think it’s well worth it. If you enjoyed this journey, please be sure to share this with someone else. I am going to have a lot of fun with my new ticketing system, and I’ll be updating you when I reach 100 tickets resolved.
Resources:
Reddit to UVDesk Ticket Python Script: https://github.com/davidinfosec/Reddit-Post-to-UVDesk-Ticket
UVDesk Docker-Compose: https://github.com/theNetworkChuck/tickets/blob/main/docker-compose.yml
Zammad Documentation: https://docs.zammad.org/en/latest/install/docker-compose.html
Zammad Video Tutorial by Installer Guru: https://www.youtube.com/watch?v=1eVX4hq92Yo
Network Chuck Tutorial on UVDesk: https://www.youtube.com/watch?v=Kq0BMVhbFkA
Thank you for reading. Ways to support me:
Free and Open Source Windows Application, Task Runway:
An organized approach to reporting cybercrime, ReportName.com:
Donate: